How to Use Memes in Presentations
Choose the point before choosing the meme. An image can introduce a familiar problem or show a reaction, but your audience still needs the explanation. Build one slide, check it in your deck and rehearse the transition back to your topic.

How to put a meme into your presentation
Start with a slide that has a clear job: introduce a problem, show a preference or lead into a decision. Review each image by its purpose. There is no fixed percentage of slides that needs a meme.
1. Write the point in a sentence
Name what you want the audience to understand or do. Put the image beside the problem or comparison it illustrates. If the slide needs figures or evidence, keep those visible and explain them; a joke cannot supply them.
2. Match the scene to the point
Decide who each character represents and what the reaction means. Check the original dialogue as well as your caption. Use a reference your audience can follow, and introduce unfamiliar context when needed.
For help choosing a visual setup, use the template-choice guide.
3. Insert the image and keep the message editable
Download a file your slide tool supports, insert it as a picture and keep its proportions. Create the title and takeaway as ordinary text in the deck. Add the image description and check reading order in that tool; those settings do not come with a downloaded meme.
The meme-creation guide covers caption placement and manual export.
For PowerPoint, Microsoft’s picture-insertion instructions explain how to add an image file. The example below has a PNG download; you place it in your own deck.
4. Rehearse the explanation and transition
Describe the important labels and reaction, give people time to process them, then connect the image to your point. Continue to the next evidence or action even if nobody laughs. The talk should still work without a joke.
Worked slide: make the review’s decision clear
This fictional project review needs a decision about the launch date. The manually edited meme shows a preference for naming that decision. It introduces the task; the next slide would show the real options and evidence from your project.
Example slide layout
Use the review to choose a next step
Today’s decision
Keep the launch date or move it.
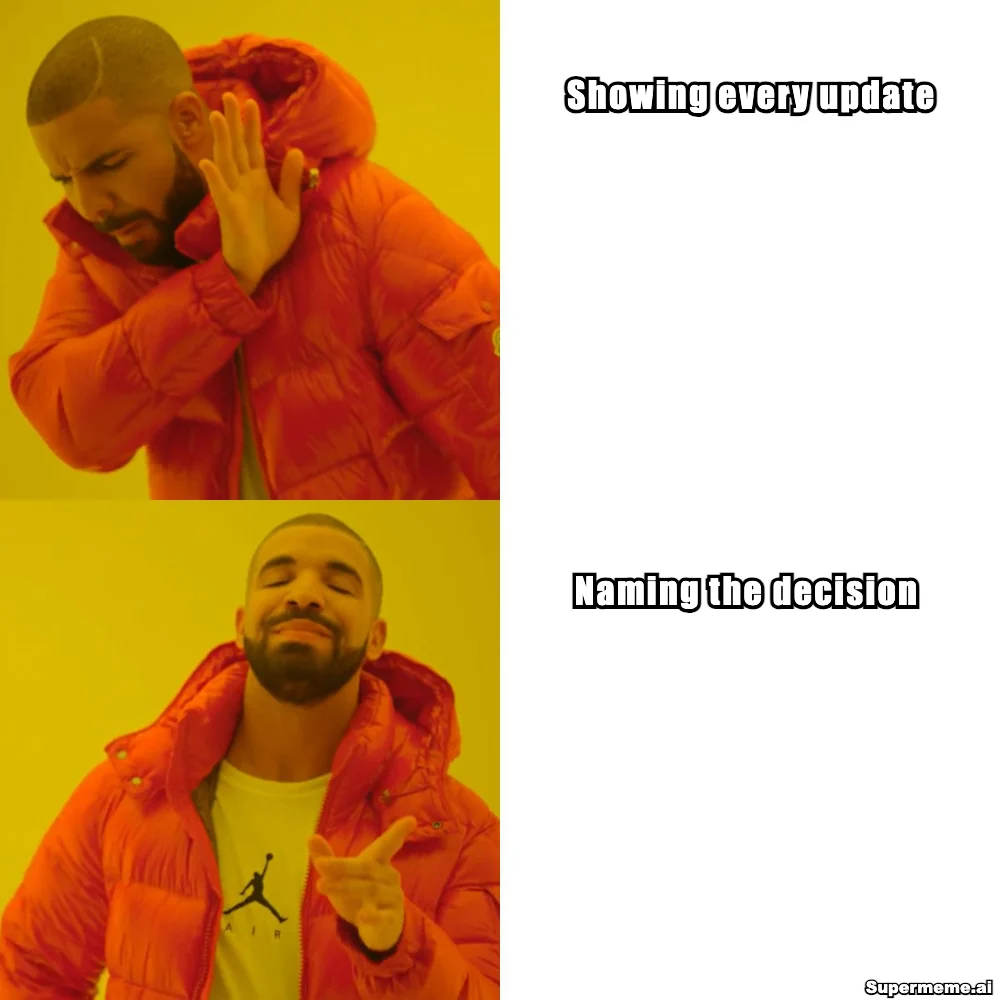
Recreate the title and takeaway as editable text in your slide tool, then insert the meme separately. This page shows the layout; the download contains the meme image only.
Download the example meme (PNG)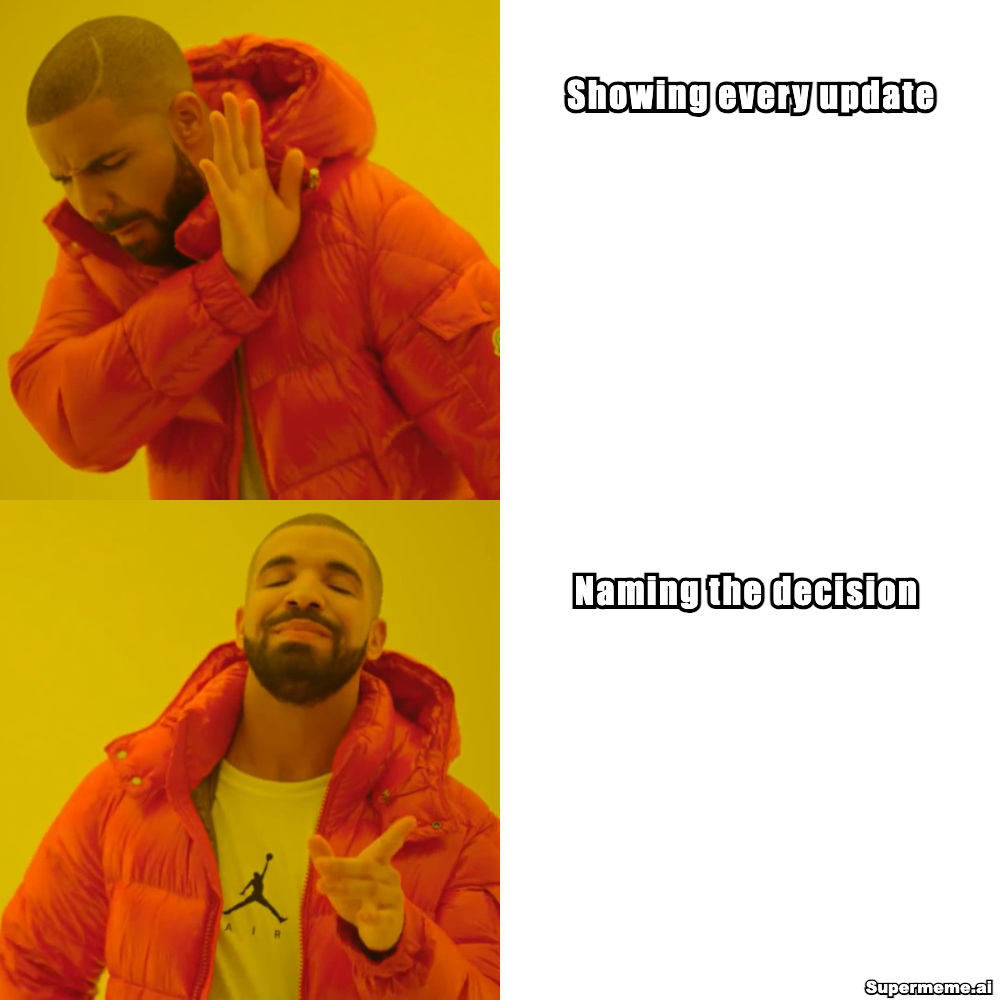
To change the captions, open the Drake editor. It starts with two placeholder text layers, rather than this completed illustration.
What to say
The top panel rejects showing every update; the bottom prefers naming the decision. For this review, we need to decide whether to keep the launch date or move it. The next slide compares the options.
Suggested image description for your deck
Drake turns away from “Showing every update” in the top panel and approves “Naming the decision” in the bottom panel.
A plain-slide alternative
Keep the same title and decision text and remove the image. Say what the review needs to decide, then show the options. The audience’s task stays clear.
Use the review to choose a next step
Today’s decision
Keep the launch date or move it.
A separate idea to try with AI
Our project review has twenty status slides, but nobody has said what we need to decide.
This is a suggested situation, separate from the manual example. The link fills it for review before generating; image and caption suggestions may differ.
Check the slide before, during and after the talk
Review the actual deck and the display you will use. A readable web preview does not establish that the projected caption or shared file will be usable.
Before presenting
- Inspect the full image and captions at the presentation’s display size. Check contrast and text size from where the audience will view it.
- Keep the key message in ordinary slide text. Add a useful image description, review reading order and run the slide tool’s accessibility checks.
- Review the reference, tone and image rights for your audience and intended distribution. A public recording and a downloadable deck need their own review.
While presenting
- Describe the visual information people need, including important captions and the character’s reaction.
- Allow time to process the slide. State how it connects to your point before moving on.
- If the reference causes confusion, explain the point or use your plain alternative. Do not depend on laughter to continue.
After presenting
- Check that the shared file preserves the text and descriptions you intended. Provide accessible materials directly when participants need them.
- For a teaching goal, ask people to explain or apply the point. A laugh alone does not show understanding or recall.
W3C WAI’s accessible-presentations guidance covers describing relevant visuals, allowing processing time and sharing accessible materials.
Microsoft’s PowerPoint accessibility guide covers image descriptions, reading order and keeping important information out of image-only text. A checker helps find issues; also review the finished deck.
For the image-use review, read the U.S. meme copyright guide. Familiarity with a template does not establish permission for your use.
For classroom activities and research limits, continue with the teaching-with-memes guide.
Earlier jokes about presentation boredom
These two illustrations joke about an audience’s reaction. They are separate from the worked slide and do not show that a meme improved a presentation.
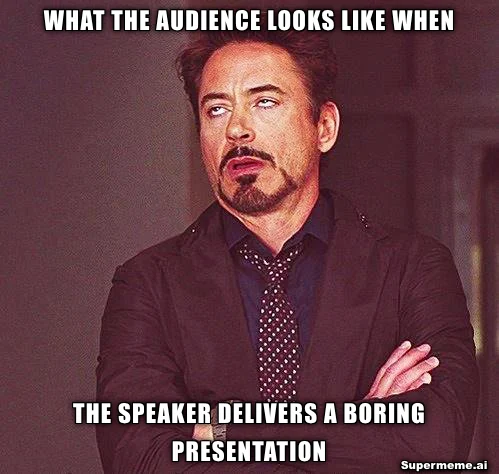
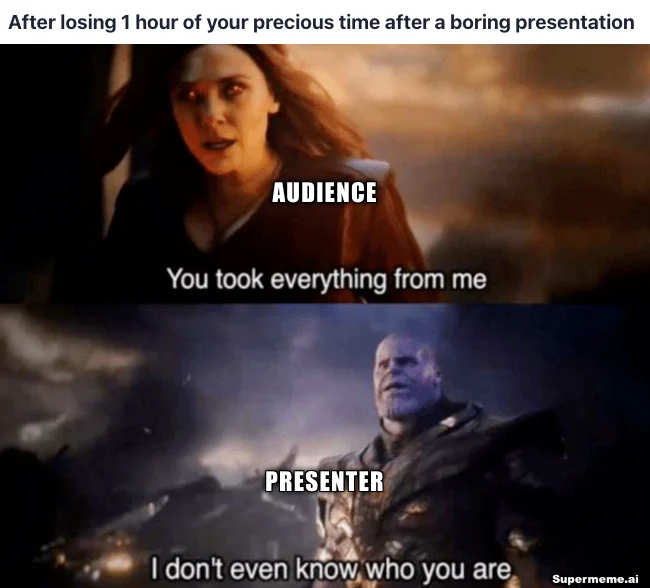
For more formats to review for a work setting, browse clean templates for business, then check the actual scene and audience fit.
Questions about memes in presentations
How many memes should I put in a presentation?
Review the purpose of each image rather than following a fixed ratio. Remove jokes that repeat a point or crowd the slide. If unsure, rehearse one planned example and decide whether it earns its place.
What should I say when the meme appears?
Describe the essential image content and labels, allow time to process them, then explain the connection to your point. Continue with the talk whether or not anyone laughs.
How do I keep the meme slide readable and accessible?
Keep the key message in ordinary text. Add an image description and review reading order in your slide tool. Check the actual display and shared file; a preview or automated checker alone does not establish accessibility.
Will using a meme improve learning?
A funny reaction does not show comprehension or recall. For a learning goal, ask the audience to explain or apply the point. Use the teaching guide for activities and research boundaries.
Can I use a familiar meme in a public presentation?
Review the rights for the image and your intended use, including recordings and shared decks. A familiar format, new caption or educational setting does not automatically settle permission.
Does Supermeme create the whole presentation?
It helps draft meme images and captions for review. You insert the downloaded image in your own slide tool, add the surrounding text and descriptions, and check the finished deck. The suggested prompt may produce different images from this manual example.
Written by
Sanjeev NCCo-founder of Supermeme.ai. Building the default meme generator of the internet since 2022.
Start with the point
Describe the situation you want to illustrate. Review the image and captions, then place the result in your deck.
Open the meme generator